It started on a rainy Thursday when I tried to rescue a batch of over‑cooked chicken from the fridge, only to discover that the meat had turned into a rubbery, flavor‑less slab. I stared at it, feeling the frustration of a failed dinner, and thought, “There has to be a better way to salvage this.” That moment of culinary despair turned into a spark, and I set out to create a wrap that would resurrect the chicken’s lost soul while delivering a burst of cheesy, garlicky delight that would make my friends swoon.
The kitchen smelled like sizzling olive oil and fresh herbs as I tossed the chicken in a quick, aromatic rub. The sound of the pan was a rhythmic crackle, like a drumbeat announcing the start of a delicious revolution. When I first tasted the seared pieces, the savory juices danced across my tongue, a warm hug that felt like a secret handshake between chef and ingredient. The sight of golden crusts on the tortillas, the creamy swirl of sauce, and the bright green lettuce made my eyes widen with anticipation.
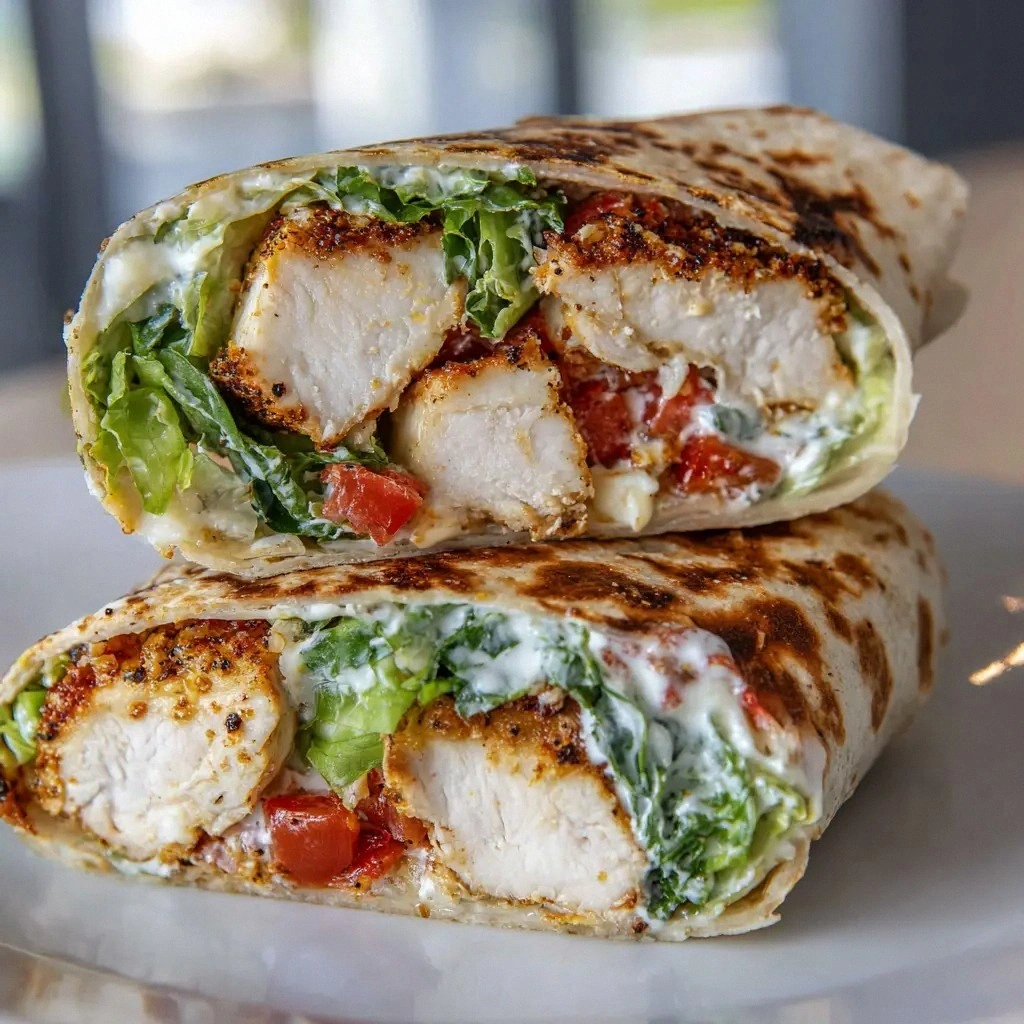
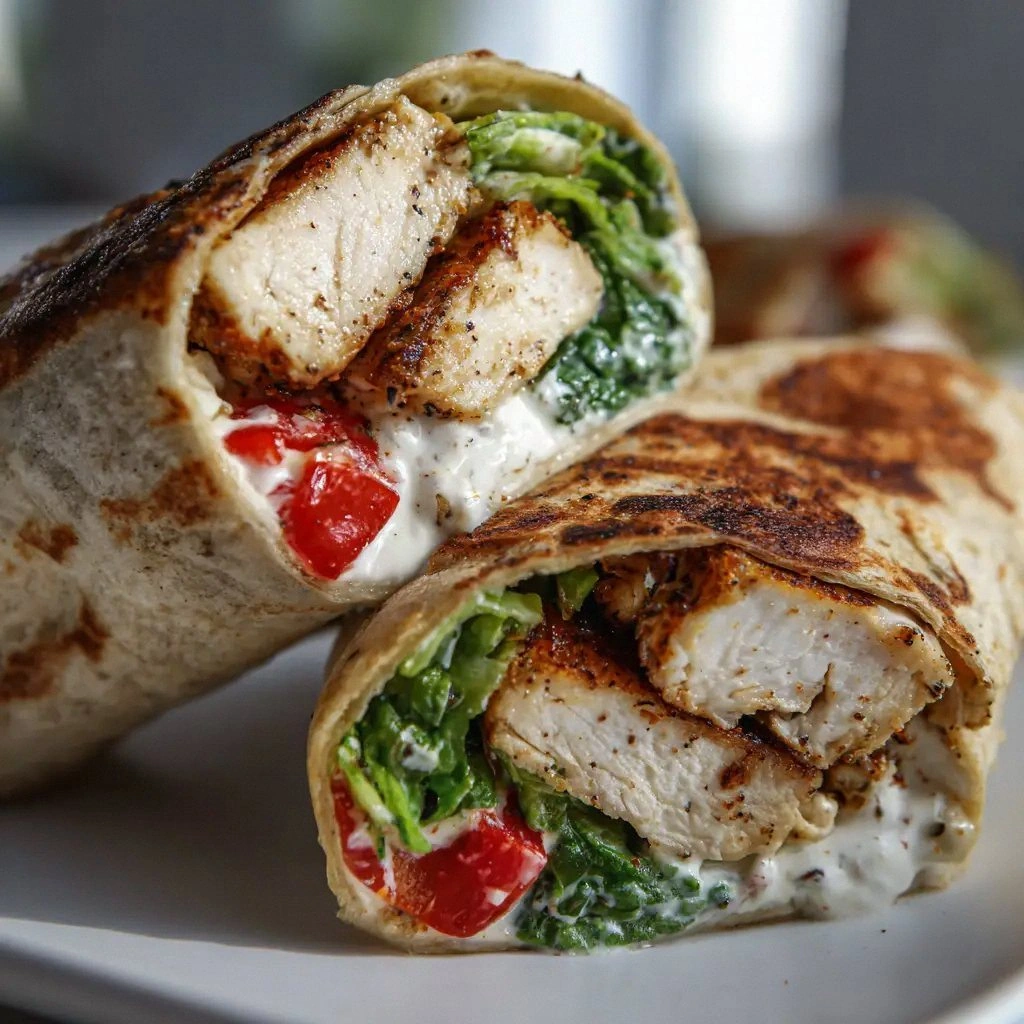
What makes this version stand out is that it doesn’t just pack flavor; it delivers texture, convenience, and a show‑stopping presentation that turns an ordinary meal into an event. The combination of mozzarella and mayo‑sour cream creates a silky coating that clings to every bite, while the crisped tortilla edges provide a satisfying crunch that shatters like thin ice. I’ve refined the technique to keep the chicken juicy, the sauce creamy, and the wraps portable enough for a quick dinner or a crowd‑pleasing party snack. Most recipes get this completely wrong, but here’s the secret: the balance of wet and dry, heat and rest, turns every wrap into a masterpiece.
I dare you to taste this and not go back for seconds. Picture yourself pulling this out of the oven, the whole kitchen smelling incredible, and seeing the golden, bubbling cheese that promises pure magic. Let me walk you through every single step — by the end, you’ll wonder how you ever made it any other way.
What Makes This Version Stand Out
- Flavor: The garlic‑infused mayo‑sour cream sauce coats the tortilla like velvet, giving each bite a rich, savory depth that lingers on the palate.
- Texture: The crispy tortilla edges contrast with the melty mozzarella and tender chicken, creating a multi‑sensory experience that feels like a dance of crunch and melt.
- Convenience: All the components are pre‑assembled, so you can heat them in the oven for a few minutes and serve a complete meal in under 45 minutes.
- Uniqueness: The blend of dried herbs and black pepper gives the chicken a subtle warmth that sets this wrap apart from the usual grilled‑chicken fare.
- Crowd Reaction: Friends and family rave about the gooey cheese and fresh veggies, making it the perfect dish for gatherings.
- Ingredient Quality: Using fresh romaine and ripe roma tomatoes ensures that each bite bursts with natural sweetness and crispness.
- Cooking Method: A quick sear followed by a short bake locks in juices without overcooking, preserving the chicken’s tenderness.
- Make‑Ahead Potential: Assemble the wraps the night before, refrigerate, and bake in the morning for a stress‑free breakfast or lunch.
Alright, let's break down exactly what goes into this masterpiece…
Inside the Ingredient List
Flavor Base
The olive oil, black pepper, dried herbs, and kosher salt form a quick, aromatic rub that turns ordinary chicken breasts into a flavor bomb. The oil carries the heat of the spices, while the dried herbs add a subtle earthiness that balances the richness of the cheese. Skipping this step leaves the chicken bland and the wraps feeling incomplete. If you’re short on time, a splash of soy sauce can replace the salt, but the classic herb blend is unbeatable.
Texture Crew
The large flour tortillas provide the canvas for all the delicious layers. Their soft, pliable nature allows the cheese to melt into a gooey blanket, while the edges crisp up to a satisfying crunch when baked. Using a slightly thicker tortilla gives a sturdier bite, especially when the filling is juicy. If you prefer gluten‑free, a corn tortilla will work, but the texture will shift slightly.
Unexpected Star
The mayo‑sour cream sauce is the secret sauce that glazes the wraps like a silky blanket. The mayonnaise adds a rich, buttery base, while the sour cream introduces a tang that cuts through the cheese’s heaviness. Minced garlic gives an immediate hit of aroma that wakes up the senses. If you’re lactose intolerant, a dairy‑free mayo and a splash of plant‑based yogurt can replicate the creamy texture.
Final Flourish
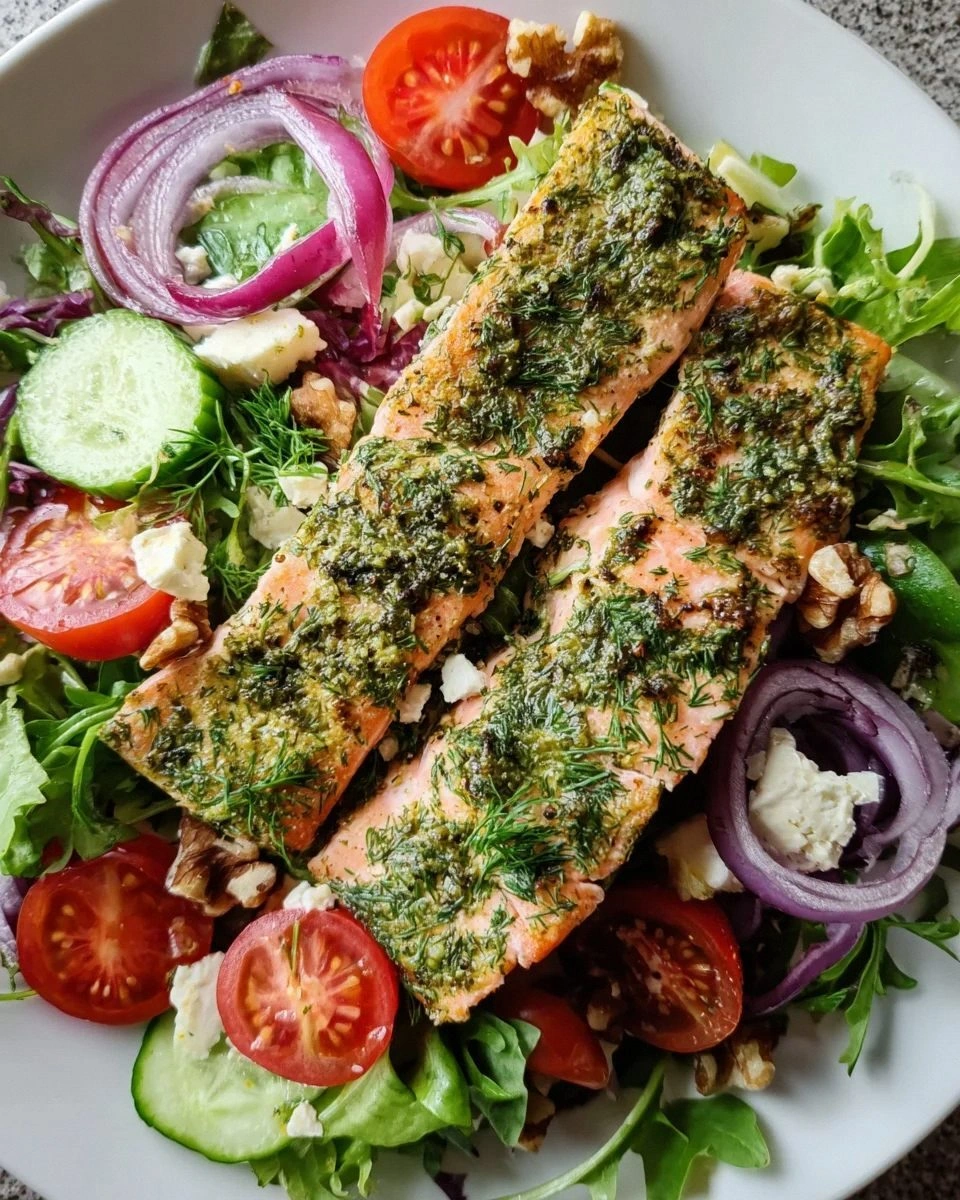
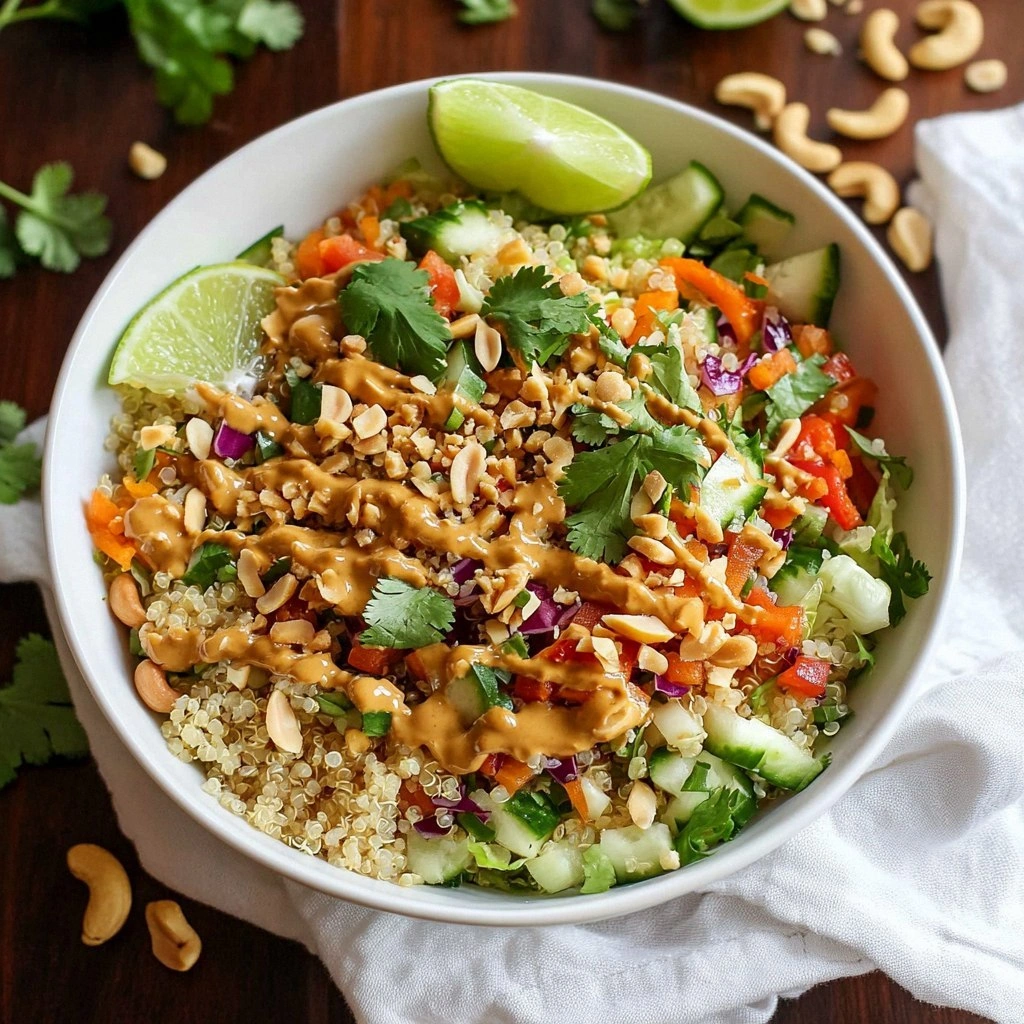
Fresh romaine lettuce and ripe roma tomatoes add a burst of freshness that balances the richness of the cheese and sauce. The lettuce’s crispness provides a counterpoint to the soft, melted cheese, while the tomatoes contribute a juicy, sweet note. Together, they create a layered experience that keeps the wrap from feeling heavy. If you’re looking for extra crunch, a handful of sliced cucumbers or bell peppers can be tossed in.
Everything's prepped? Good. Let's get into the real action…
The Method — Step by Step
- Preheat your oven to 375°F (190°C) and line a baking sheet with parchment paper. This simple step ensures even heat distribution and prevents the wraps from sticking. A clean sheet also makes for easy cleanup, so you can focus on the cooking.
- In a large bowl, whisk together 1 tablespoon of olive oil, 1 teaspoon of black pepper, 1 teaspoon of dried herbs, and 0.5 teaspoon of kosher salt. Toss the chicken breasts in this mixture until every surface is coated. The oil acts as a flavor carrier, while the spices infuse the meat.
- Heat a cast‑iron skillet over medium‑high heat. Once hot, add the chicken and sear for 4–5 minutes on each side until a golden crust forms. This step locks in juices and gives the chicken a caramelized flavor that pairs beautifully with the cheese. Kitchen Hack: Use a heavy‑bottomed skillet for even heat; it prevents hot spots that could burn the exterior while leaving the inside undercooked.
- Transfer the seared chicken to a cutting board and let it rest for 5 minutes. This rest period allows the juices to redistribute, ensuring that the meat stays moist when sliced. After resting, cut the chicken into thin strips for easy rolling.
- While the chicken rests, combine 0.25 cup mayonnaise, 0.25 cup sour cream, 2 minced garlic cloves, and a pinch of salt in a small bowl. Whisk until the mixture is smooth and creamy. The sauce should coat the tortillas like velvet, creating a luscious base for the filling. Watch Out: Over‑mixing can thin the sauce; whisk just until combined to keep the texture rich.
- Lay each tortilla flat on a clean surface and spread a generous layer of the sauce. Add a handful of romaine lettuce, a couple of sliced roma tomatoes, a handful of shredded mozzarella, and the sliced chicken. Fold the sides in and roll tightly, tucking the ends underneath to keep the filling secure. Kitchen Hack: Tuck the ends under before rolling to prevent the filling from spilling during baking.
- Place the assembled wraps seam‑side down on the prepared baking sheet. Brush the tops lightly with a little olive oil to promote crisping. This step gives the tortillas a golden, buttery finish that’s impossible to resist.
- Bake for 15–18 minutes, or until the cheese has melted and the tortillas are crisp. The edges will start pulling away like thin ice, signaling that they’re ready. Keep an eye on them; if the cheese browns too quickly, reduce the temperature slightly.
- Remove the wraps from the oven and let them rest for 3 minutes. This short pause allows the cheese to set slightly, preventing a gooey mess when you cut into them. Slice each wrap diagonally for a dramatic presentation that showcases the layers.
- Serve immediately with a side of fresh salad or a drizzle of extra sauce. The combination of warm, melty cheese and crisp veggies creates a harmony of flavors that will leave everyone craving more.
That's it — you did it. But hold on, I've got a few more tricks that'll take this to another level…
Insider Tricks for Flawless Results
The Temperature Rule Nobody Follows
Many chefs bake at a high heat, but the secret to a perfectly crisp tortilla is to start at 375°F and keep it steady. A lower temperature prevents the cheese from burning while still giving the tortillas a golden finish. I once baked at 400°F and the cheese charred before the tortilla crisped. Stick to 375°F and trust the timer.
Why Your Nose Knows Best
Before you add the sauce, sniff the chicken. A slightly sweet aroma indicates the right balance of herbs and spices. If it smells flat, add a dash of lemon zest. Your nose is a reliable judge of flavor depth, so pay attention.
The 5-Minute Rest That Changes Everything
Resting the chicken after searing is not just a courtesy; it’s a science trick that keeps the meat juicy. A quick 5‑minute rest allows the muscle fibers to relax, preventing the juices from spilling out when sliced. Skip this step and you’ll end up with dry, tough chicken.
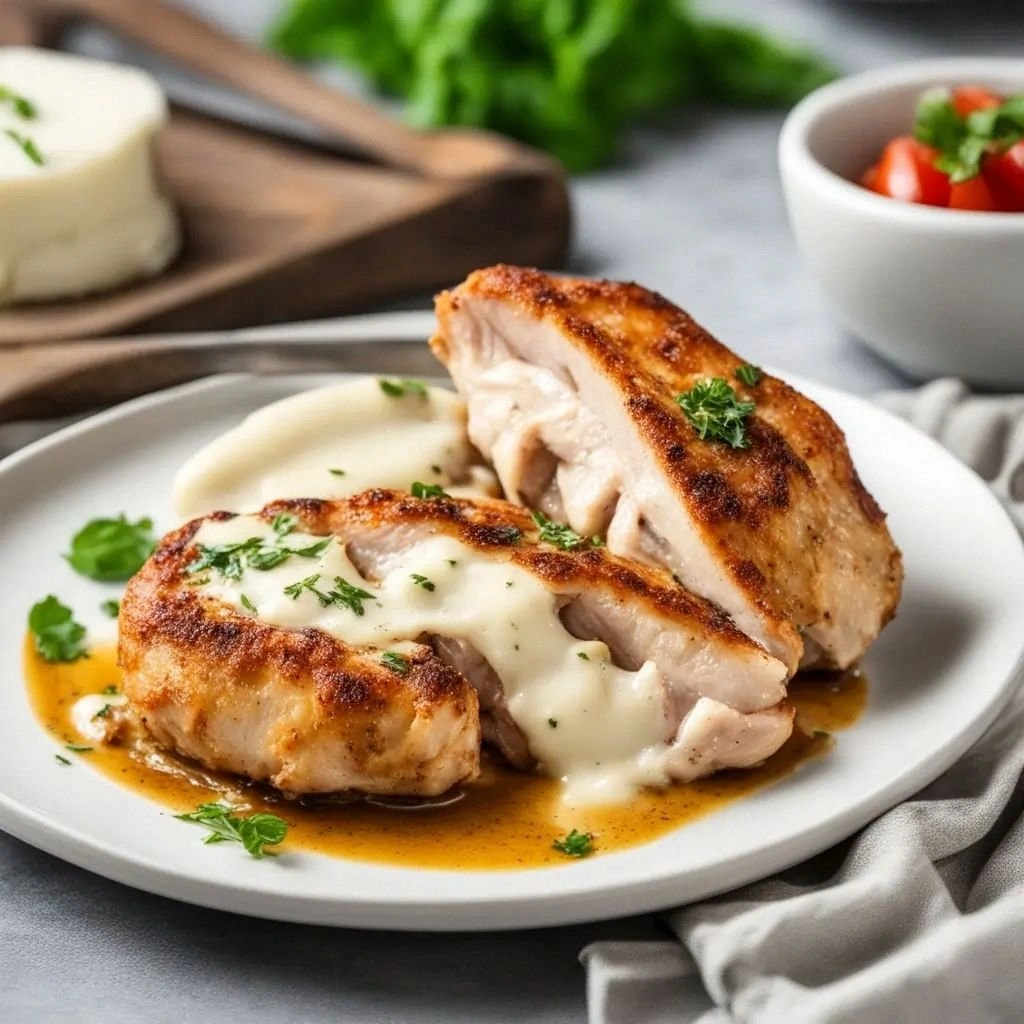
Use Fresh Mozzarella for Creaminess
A block of fresh mozzarella melts into a silky sauce that coats each bite. If you use pre‑shredded mozzarella, it often contains additives that can affect melting. For a pure, buttery experience, buy a whole block and shred it yourself.
Keep the Wraps Warm Until Serving
Wrap the baked wraps in foil and place them in a 200°F oven for 5 minutes before serving. This keeps the cheese from cooling too quickly, ensuring every bite stays melty. A quick heat trick that makes the wraps feel freshly baked.
Creative Twists and Variations
This recipe is a playground. Here are some of my favorite ways to switch things up:
Spicy Sriracha Crunch
Swap the mayo‑sour cream sauce for a blend of mayo, sriracha, and a squeeze of lime. Add sliced jalapeños for an extra kick. The heat pairs wonderfully with the creamy cheese, creating a flavor explosion.
Mediterranean Medley
Replace romaine with spinach and add diced cucumbers, kalamata olives, and feta cheese. Toss the sauce with a splash of olive oil and a pinch of oregano. The result is a wrap that feels like a Mediterranean picnic.
BBQ Sweet & Smoky
Use BBQ sauce instead of the garlic sauce, and add a handful of sweet potato fries for texture. The smoky sweetness complements the cheese and chicken, making it a crowd‑pleaser at barbecues.
Vegan Delight
Swap chicken for grilled portobello mushrooms and use dairy‑free cheese and mayo. Add avocado slices for creaminess. This version is just as indulgent but keeps it plant‑based.
Breakfast Bonanza
Add scrambled eggs and a dash of chives before rolling. This transforms the wrap into a hearty breakfast that can be served with a side of hash browns.
Pesto Power
Replace the garlic sauce with a spoonful of basil pesto. Toss the chicken in pesto before rolling for an Italian twist that brings aromatic herbs to the forefront.
Storing and Bringing It Back to Life
Fridge Storage
Store assembled wraps in an airtight container in the refrigerator for up to 2 days. Wrap them tightly in foil to keep the tortillas from drying out. When you’re ready to eat, reheat in a 350°F oven for 10 minutes.
Freezer Friendly
Wrap each individual wrap in parchment paper and then foil. Freeze for up to 1 month. To reheat, place on a baking sheet and bake at 350°F for 15 minutes, or until the cheese melts.
Best Reheating Method
The key to a great reheated wrap is to add a tiny splash of water to the baking sheet before reheating. This steams the wraps, keeping the cheese moist and the tortillas from becoming rubbery. Finish with a quick broil to crisp the edges.