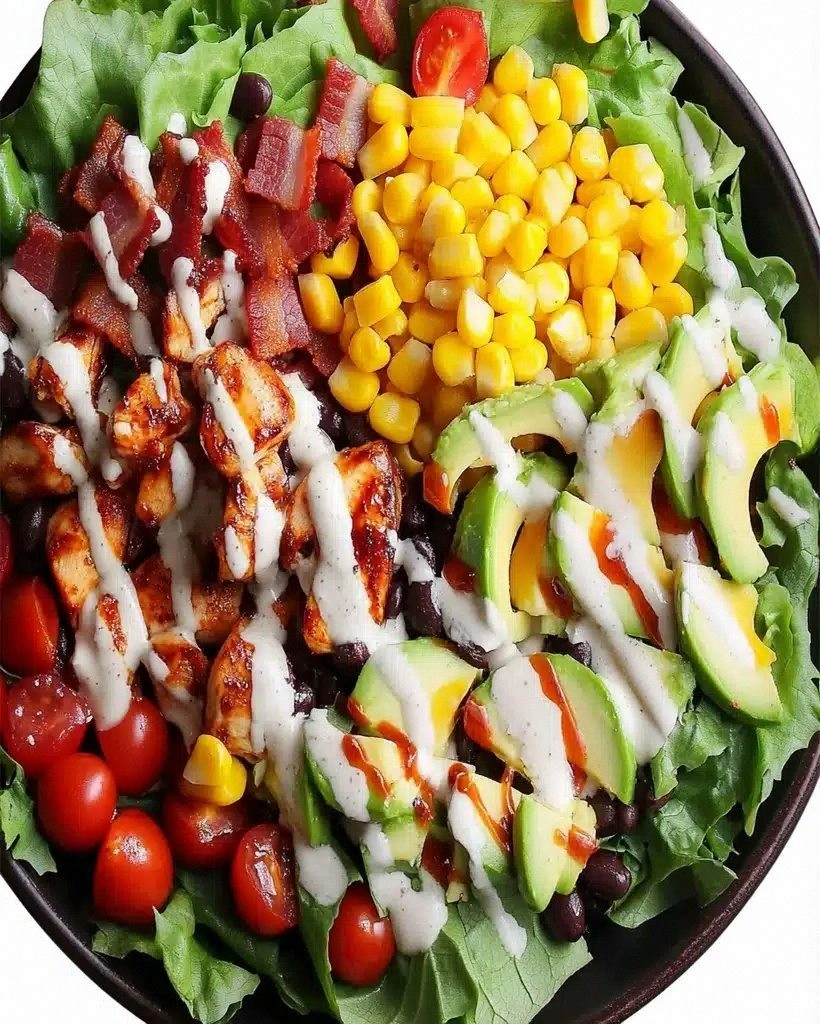
I was standing in a kitchen that looked like a battlefield after a failed attempt at making a simple stir‑fry. The soy sauce had spilled, the honey had caramelized into a sticky mess, and the chicken thighs were still raw in the middle of the pan. I stared at the sizzling mess, feeling a mix of frustration and the faint scent of burnt sugar. That moment, I realized that what I needed was not another recipe but a game‑changing method that would turn a disaster into a triumph.
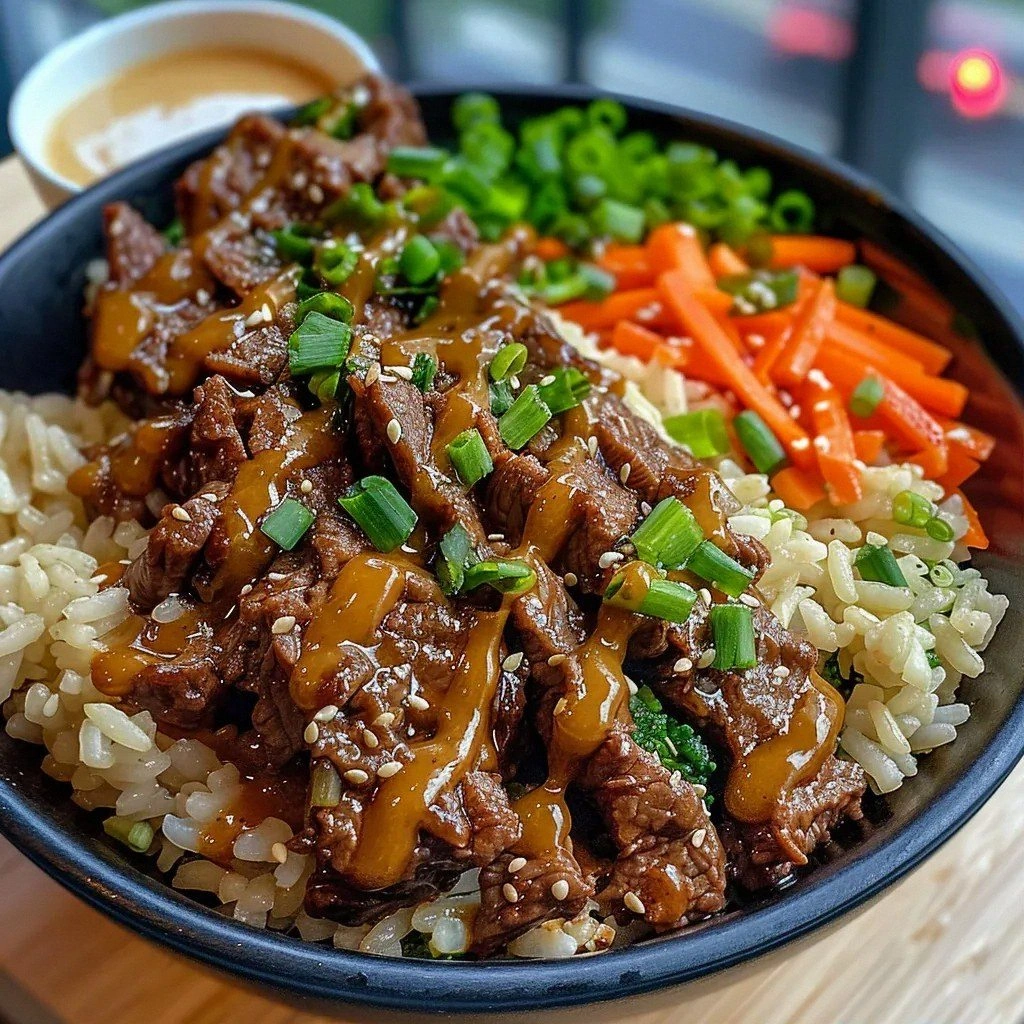
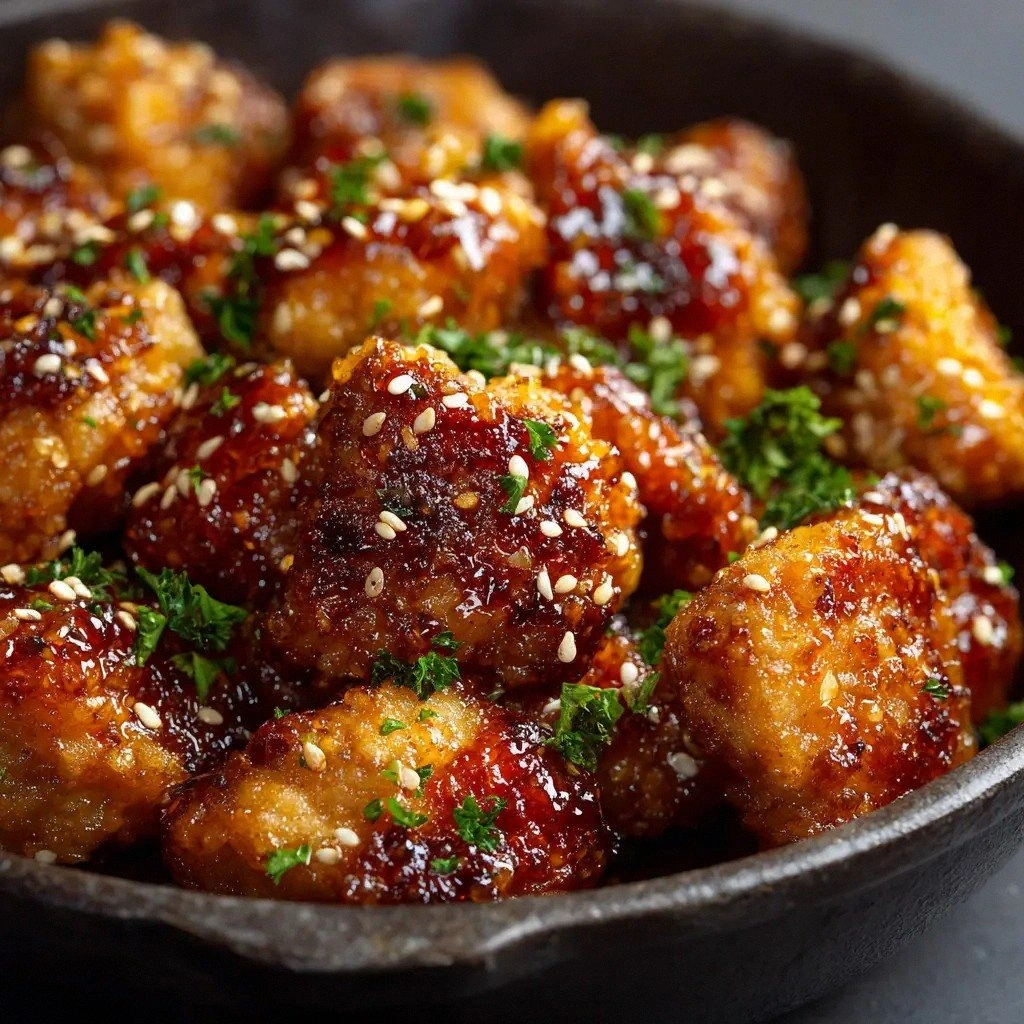
Imagine the first bite: a crackling, golden shell that gives way to a juicy, tender center, the honey coating the meat like a glossy, buttery glaze that clings to every crevice. The air is thick with the sweet aroma of honey and the deep, savory note of soy, punctuated by the nutty fragrance of toasted sesame. Your tongue tastes a subtle tang from the soy, a mellow sweetness from the honey, and a faint pepper kick that lingers. The texture is a perfect contrast—crisp on the outside, melt‑in‑your‑mouth on the inside. You can almost hear the pan crackle, feel the heat radiating from the skillet, and see the glossy sheen reflecting the kitchen lights.
What makes this version stand out is that it’s not just another “crispy chicken” recipe. It’s a meticulously balanced dance of flavors, a carefully orchestrated crunch that doesn’t overwhelm the subtlety of the honey. The sauce is thick enough to cling to the chicken, not run off like a typical glaze. The seasoning is precise, avoiding the usual salt‑heavy mistakes that ruin the delicate sweetness. The result is a dish that is both comforting and exciting, a true crowd‑pleaser that will have everyone asking for seconds.
And here’s a teaser: the secret to that perfect crisp isn’t a fancy coating or a high‑heat oven. It’s a simple, two‑stage coating process that locks in moisture and creates an irresistible texture. The honey isn’t just a glaze—it’s a flavor transformer that caramelizes into a caramelized, slightly bitter layer that balances the dish. Trust me, this technique will change the way you think about crispy chicken forever.
Okay, ready for the game‑changer? Let me walk you through every single step—by the end, you’ll wonder how you ever made it any other way.
What Makes This Version Stand Out
- Flavor Depth: The honey and soy sauce blend creates a complex, umami‑rich profile that pairs beautifully with the savory chicken.
- Texture Mastery: A two‑stage coating locks in moisture while delivering a crunchy exterior that shatters like thin ice.
- Speed & Simplicity: You can have this dish sizzling in under 30 minutes, no fancy equipment needed.
- Versatile Appeal: Works as a main dish, a protein for salads, or a party appetizer that will have guests begging for more.
- Ingredient Quality: Uses simple pantry staples, but each is chosen for its unique contribution to the final flavor.
- Make‑Ahead Friendly: The chicken can be prepared ahead of time and reheated without losing its crunch.
- Visual Impact: The golden crust and glossy glaze make the dish Instagram‑ready and mouth‑watering.
- Balanced Sweetness: The honey is sweet enough to be noticeable but not overpowering, creating a harmonious balance.
Inside the Ingredient List
The Flavor Base
The honey and soy sauce create a marriage of sweet and savory that forms the core of the dish. The honey’s natural sugars caramelize when heated, producing a glossy glaze that clings to each piece of chicken. Soy sauce adds depth, bringing umami and a slight saltiness that balances the sweetness. Skipping either would leave the dish feeling flat and one‑dimensional.
The Texture Crew
Cornstarch and all‑purpose flour are the unsung heroes that give the chicken its signature crunch. Cornstarch’s fine granules create a light, airy crust that expands when heated, while flour adds body and helps the coating stick. Together, they form a barrier that traps moisture inside, keeping the meat juicy. If you omit flour, the coating will be too thin and may fall off; if you omit cornstarch, the crust will be denser and less crispy.
The Unexpected Star
Unsalted butter is more than just a fat; it contributes richness and a subtle nutty flavor that complements the honey. Butter’s higher smoke point than many other fats ensures it melts without burning, allowing the coating to develop a golden hue. Replacing butter with olive oil would change the flavor profile and reduce the overall richness.
The Final Flourish
Toasted sesame seeds and fresh parsley provide a final pop of texture and color. Sesame seeds add a nutty crunch that contrasts with the smooth glaze, while parsley offers a bright, herbal finish that cuts through the richness. Skipping these garnishes would make the dish look and taste less polished.
Everything's prepped? Good. Let's get into the real action...
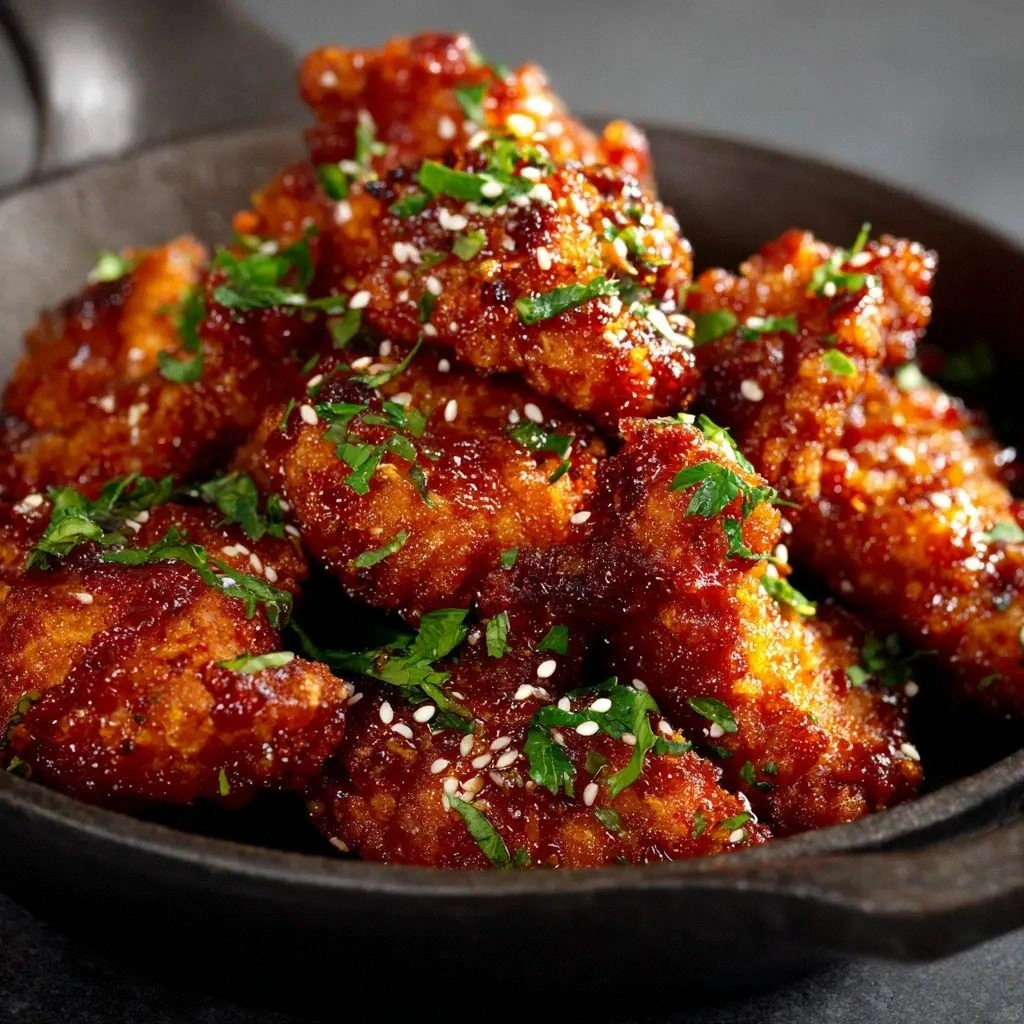
The Method — Step by Step
- Prep the Coating: In a shallow dish, combine the cornstarch, flour, salt, and pepper. Mix until evenly distributed. This dry blend will form the first layer that locks in moisture.
- Coat the Chicken: Pat the chicken thighs dry with paper towels. Dredge each piece in the coating mixture, tapping off excess. The coating should cling to the surface like a second skin.
- Heat the Pan: Place a large skillet over medium‑high heat and add the neutral frying oil. Wait until the oil shimmers but isn’t smoking. The oil should be hot enough to sizzle when the chicken hits it.
- Sear the Chicken: Place the coated thighs skin‑side down in the pan. Let them cook undisturbed for 4–5 minutes until the coating turns golden brown. Flip and cook the other side for another 4–5 minutes.
- Deglaze and Simmer: Remove the chicken and set aside. Add the butter to the pan, letting it melt and coat the bottom. Pour in the honey and soy sauce, swirling to combine and lift any browned bits from the pan.
- Return the Chicken: Place the browned thighs back into the pan. Spoon the glaze over the chicken, ensuring each piece is coated. Reduce heat to medium and simmer for 5 minutes, letting the sauce thicken.
- Finish with Sesame and Parsley: Sprinkle toasted sesame seeds over the chicken. Add fresh parsley for a burst of color and freshness. Give everything a gentle stir to distribute the flavors.
- Serve Immediately: Plate the chicken while it’s still hot and crisp. The glaze should be glossy, and the coating should crackle slightly when you bite. Pair with steamed rice or a crisp salad for a balanced meal.
That's it— you did it. But hold on, I've got a few more tricks that'll take this to another level...
Insider Tricks for Flawless Results
The Temperature Rule Nobody Follows
Many cooks assume that high heat is always best for crisping. In reality, a moderate heat of 180–190°C (350–375°F) allows the coating to expand evenly without burning. This temperature also ensures the chicken stays juicy inside. I once tried 230°C, and the coating charred before the meat cooked—lesson learned.
Why Your Nose Knows Best
If you can’t smell the honey caramelizing, the pan isn’t hot enough. A proper caramelization releases a sweet, nutty aroma that signals the sauce is ready. Trust your nose; it’s the ultimate flavor detector.
The 5-Minute Rest That Changes Everything
After removing the chicken from the pan, let it rest on a wire rack for 5 minutes. This step allows steam to escape and prevents the coating from becoming soggy. It also gives the glaze a chance to set, so each bite stays crisp.
Avoiding Overcrowding
Cooking too many pieces at once lowers the pan temperature, leading to steaming instead of searing. Work in batches if necessary. This simple tweak preserves the crunch and keeps the sauce from becoming diluted.
Finishing Touch of Butter
Adding a small knob of butter at the end of cooking brightens the glaze and adds a silky texture. It also helps the sesame seeds stick, creating a satisfying crunch. I’ve found that a tablespoon of butter is enough for four servings.
Creative Twists and Variations
Spicy Sriracha Twist
Swap half the honey with sriracha for a fiery kick. The heat balances the sweetness, and the sauce becomes a vibrant red. Perfect for those who love a little spice.
Citrus Burst
Add a splash of orange juice to the glaze and garnish with thinly sliced orange peel. The citrus brightens the dish and adds a fresh, zesty aroma. Great for summer gatherings.
Smoky Chipotle Flavor
Incorporate a teaspoon of chipotle powder into the coating. The smoky undertone pairs beautifully with the honey, creating a depth of flavor that feels like a barbecue.
Herb‑Infused Variation
Replace parsley with chopped fresh cilantro or basil. The herb changes the finish, giving the dish a different aromatic profile that pairs well with rice or quinoa.
Vegetarian “Chicken” Alternative
Use seitan or tofu slices instead of chicken thighs. Coat and cook them the same way for a plant‑based version that still delivers the crispy, honey‑glazed experience.
Pineapple Pineapple Surprise
Add diced pineapple to the glaze for a tropical twist. The fruit’s natural sugars caramelize, creating a sweet, tangy sauce that pairs wonderfully with the savory coating.
Storing and Bringing It Back to Life
Fridge Storage
Cool the chicken completely, then place it in an airtight container. Store in the refrigerator for up to 3 days. When ready to eat, reheat on the stovetop with a splash of water to restore moisture.
Freezer Friendly
Wrap each piece individually in parchment paper and place them in a freezer bag. Freeze for up to 2 months. Thaw overnight in the refrigerator before reheating.
Best Reheating Method
Reheat the chicken in a skillet over medium heat, adding a tablespoon of water to create steam. This technique helps the coating regain its crispness without drying out the meat. Finish with a light drizzle of honey for extra shine.