Picture this: I was halfway through a batch of cupcakes, the batter still clinging to the whisk, when a rogue piece of parchment paper slipped into the oven. The heat hissed, and I was left with a half‑baked, soggy disaster that could only be salvaged by a last‑minute dash to the pantry. That moment sparked a craving for something that could turn a kitchen mishap into a masterpiece. I was determined to find a dessert that could be ruined and still taste heavenly. And then I stumbled upon the idea of a vanilla bean crème brûlée cheesecake.
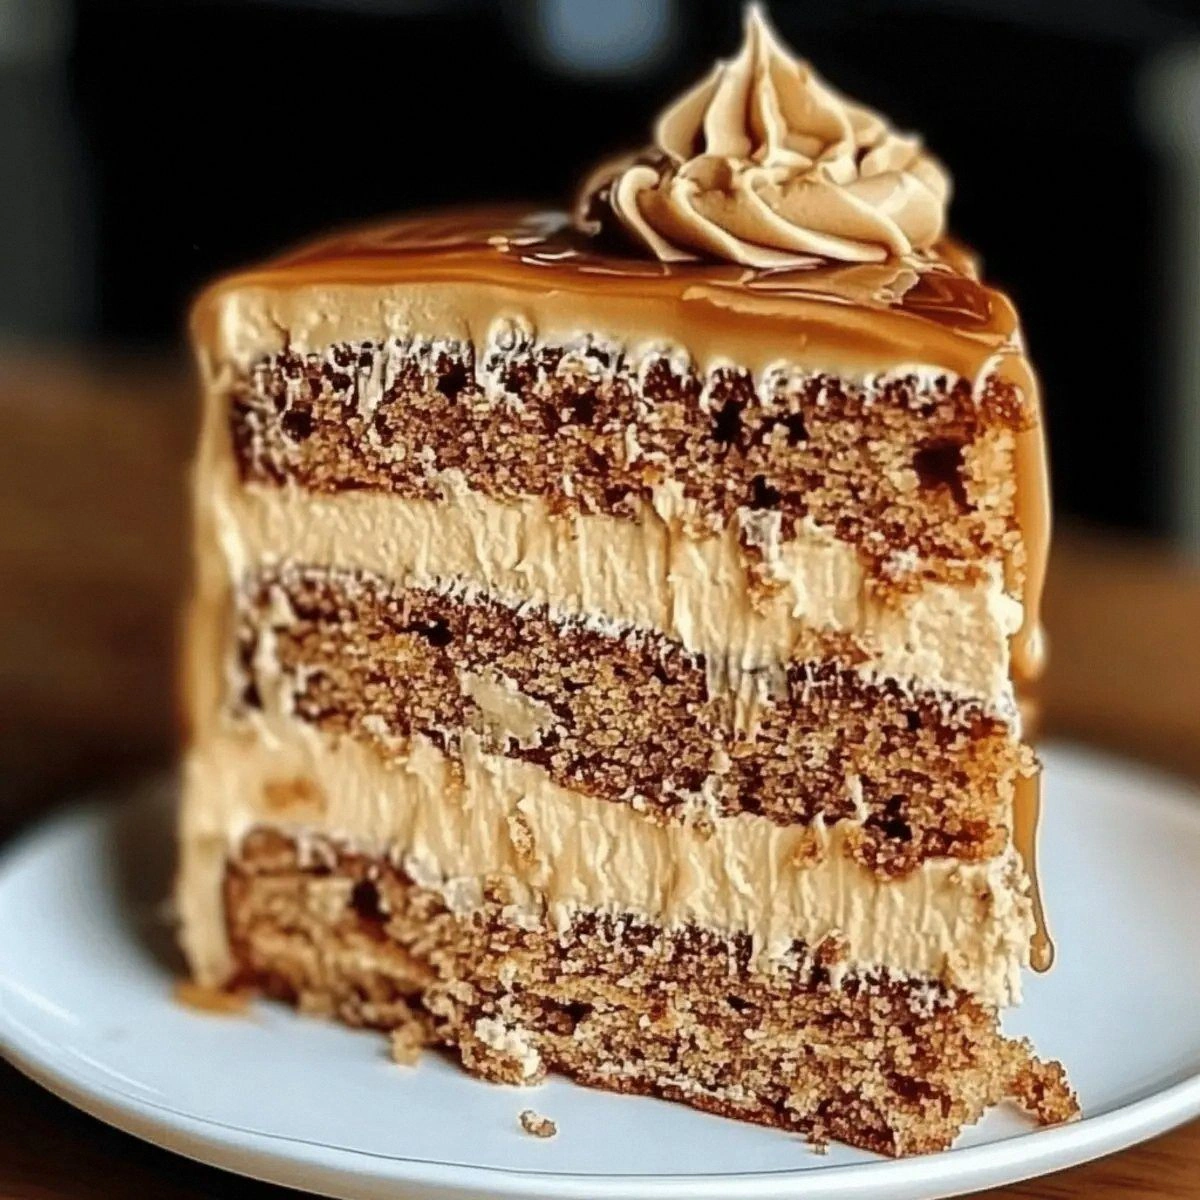
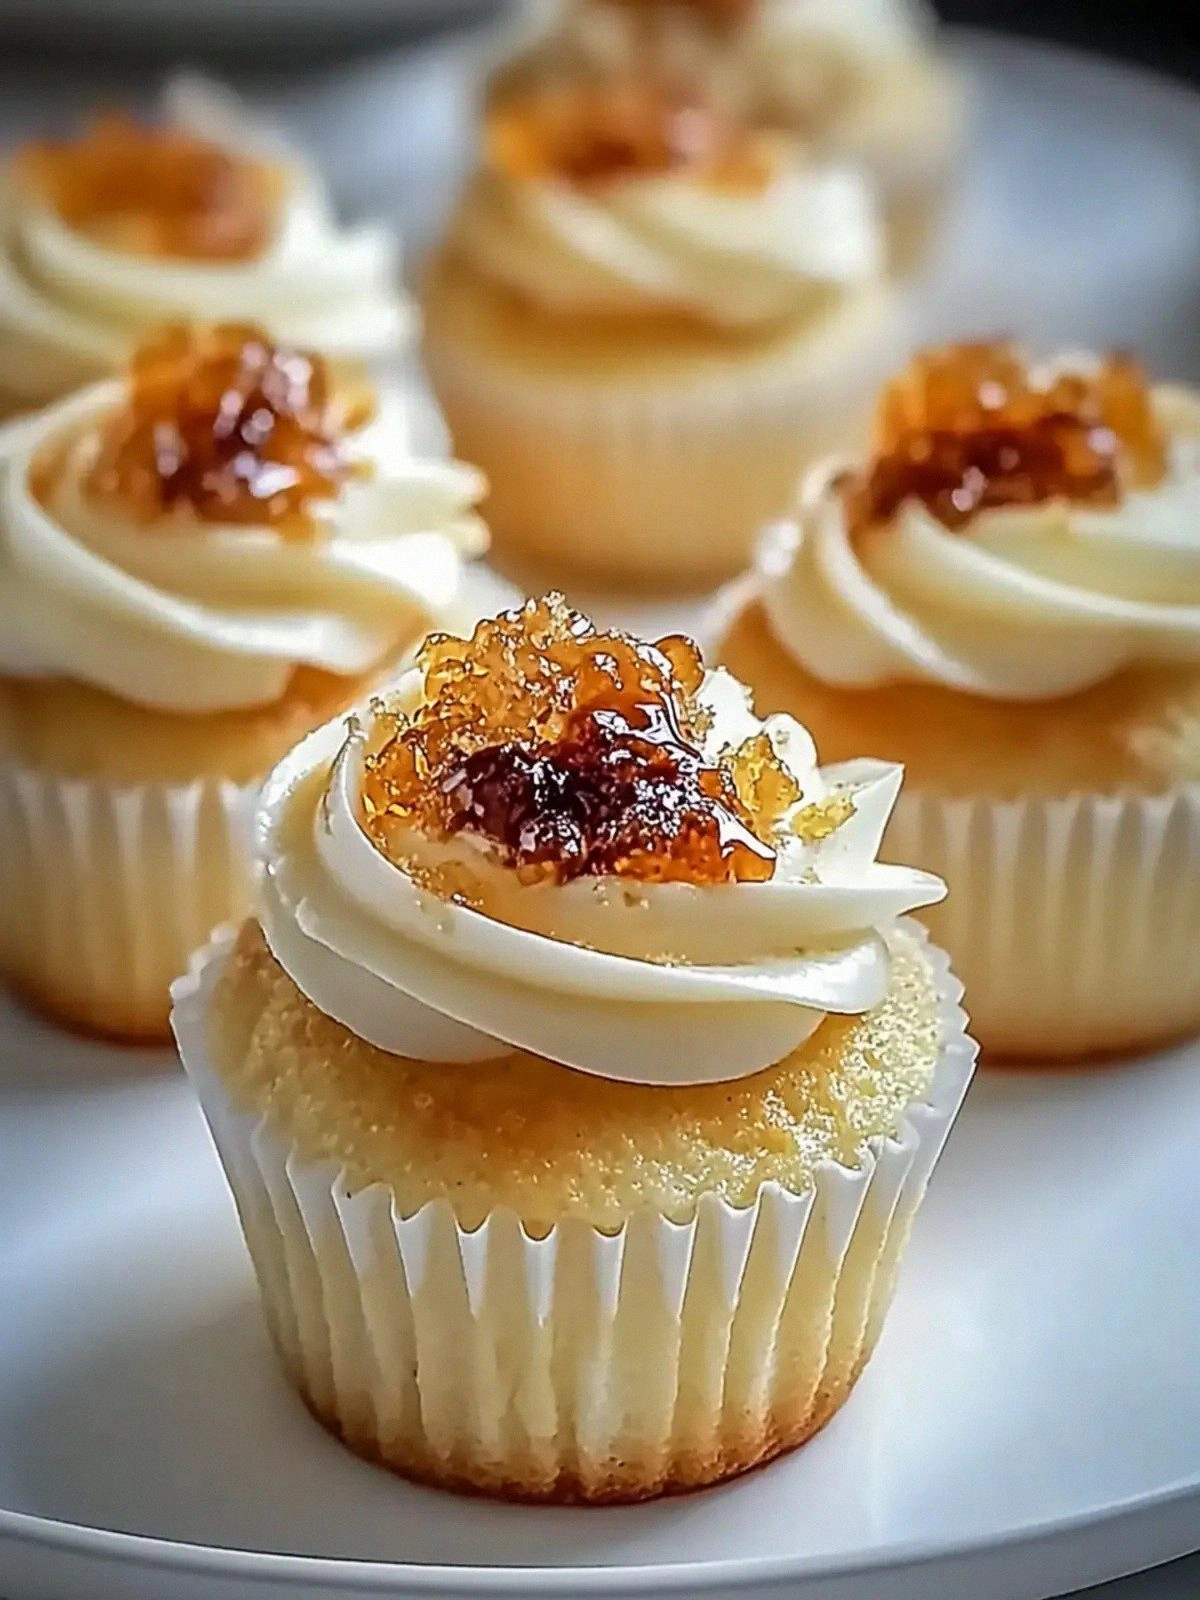
Imagine the aroma of fresh vanilla beans cracking open, releasing a sweet, buttery scent that mingles with the rich perfume of melted cream cheese. The sound of the batter swirling in a glass bowl is almost meditative, like a calm jazz riff. When you first taste the first spoonful, the silky custard coats your tongue like velvet, with a hint of caramelized sugar on the rim. The texture is a paradox: firm enough to hold its shape, yet soft enough to melt in your mouth. The visual is equally arresting: a glossy, pale ivory dome with a glossy caramelized top that shimmers under the kitchen light.
This version isn't just a cheesecake; it's a layered experience that marries the decadence of crème brûlée with the comforting familiarity of a classic dessert. The secret lies in the use of whole vanilla beans, which infuse the custard with depth that powdered vanilla can never match. The heavy cream adds a silky richness that balances the sharpness of the cream cheese. The caramelized sugar crust provides a satisfying crunch that contrasts with the smooth interior. Together, they create a flavor profile that feels both indulgent and sophisticated.
Most people think a crème brûlée needs a double boiler, but I've discovered that a simple water bath does the trick with a predictable rise. The trickiest part is achieving that perfect caramelized top without burning the custard underneath. I've also found that letting the batter rest in the fridge for an hour before baking yields a more uniform texture. The final touch? A quick flash of the kitchen torch just before serving for that signature crackling sound.
Let me walk you through every single step — by the end, you'll wonder how you ever made it any other way. You'll see how to coax the vanilla beans into a fragrant syrup, how to blend the cream cheese into a silky base, and how to bake it to a golden perfection. You'll learn the subtle timing that keeps the custard from cracking. And you'll discover a few insider hacks that elevate the dish from good to unforgettable. So grab your apron and let's dive in.
What Makes This Version Stand Out
- Taste: The use of whole vanilla beans releases a complex bouquet that lingers on the palate, turning a simple cheesecake into a fragrant, aromatic experience. The subtle caramel notes from the brûlée topping add a sweet finish that complements the creamy interior.
- Texture: The custard achieves a silky, almost custard‑like mouthfeel while still holding a firm structure. The caramelized sugar crust offers a delightful crunch that breaks the smoothness with every bite.
- Simplicity: Despite the layered flavors, the recipe requires only a handful of ingredients and a basic oven setup. No fancy equipment is needed, making it accessible to home cooks.
- Uniqueness: This cheesecake blends the classic comfort of a dessert with the elegance of a French classic. The result feels like a luxury treat that is surprisingly easy to make.
- Crowd Reaction: Guests often comment that it tastes like a “buttery custard in a cake” and they are left wanting seconds. I dare you to taste this and not go back for a second.
- Ingredient Quality: The recipe’s success hinges on using high‑quality cream cheese and fresh vanilla beans. The richer the ingredients, the more pronounced the flavor profile.
- Make‑Ahead Potential: The cheesecake can be assembled and refrigerated for up to 48 hours, allowing the flavors to meld. When you’re ready to serve, a quick torch finish brings it back to life.
Inside the Ingredient List
The Flavor Base
The combination of cream cheese and vanilla beans forms the heart of this cheesecake. The cream cheese provides a tangy backdrop that balances the sweetness of the sugar, while the vanilla beans infuse the mixture with a warm, floral aroma. If you skip the vanilla, the custard will taste flat and lack complexity. For a slightly sweeter version, you can add a teaspoon of honey, but be careful not to overdo it or the custard may become too liquid.
The Texture Crew
Heavy cream and eggs work together to create a silky, custard‑like consistency that sets beautifully in the oven. The cream adds richness and smoothness, while the eggs act as a natural binder, preventing cracks and ensuring a firm yet tender crumb. If you substitute the heavy cream with half‑and‑half, the texture will be lighter but might not hold its shape as well. Choosing eggs at room temperature helps them incorporate more smoothly into the mixture.
The Unexpected Star
The graham cracker crust adds a subtle crunch and a buttery sweetness that grounds the dessert. It also provides a sturdy base that prevents the custard from spreading too much during baking. If you’re lactose intolerant, you can use a dairy‑free crust made from crushed almond biscotti. A thicker crust will give a more pronounced crunch, while a thinner one will make the cheesecake feel lighter.
The Final Flourish
The extra sugar for caramelizing is what gives this cheesecake its signature brûlée top. The sugar melts into a glossy, caramelized crust that crackles when you break it with a spoon. If you prefer a darker crust, let the sugar sit for a few extra minutes before torching. For a touch of color, sprinkle a pinch of smoked sea salt over the caramel before serving.
Everything's prepped? Good. Let's get into the real action...
The Method — Step by Step
- Begin by preheating your oven to 325°F (160°C). Line a 9‑inch springform pan with parchment paper for easy removal. In a small saucepan, gently melt the 1/4 cup granulated sugar over low heat until it turns a golden amber. Once melted, pour the caramel into a shallow dish and let it cool to room temperature. This will be your caramel topping.
- While the caramel cools, split the vanilla beans lengthwise and scrape out the seeds. Add both the seeds and the pods to a small bowl of 1 cup heavy cream. Heat the mixture over medium heat until it just starts to steam, then remove from heat and let it steep for 10 minutes. The longer you steep, the deeper the vanilla flavor will infuse. Strain the cream through a fine mesh to remove the pods, then set aside.
- In a large mixing bowl, beat 8 oz of cream cheese until smooth. Add the 3 eggs one at a time, ensuring each is fully incorporated before adding the next. Stir in the vanilla‑infused cream, then add 3/4 cup granulated sugar and 1 cup graham cracker crust, mixing until the batter is silky. This is where the texture crew comes alive. The batter should be thick yet pourable. If it feels too thick, add a splash of milk.
- Pour the batter into the prepared springform pan, smoothing the top with a spatula. Place the pan in a larger baking dish and pour hot water into the dish until it reaches halfway up the sides of the springform pan. This water bath keeps the custard from cracking and ensures even cooking. Bake for 45 minutes, or until the edges are set but the center still wobbles slightly when you jiggle the pan.
- Watch Out: When the custard is done, do not open the oven immediately. Let it cool in the oven with the door ajar for 30 minutes. This gradual cooling prevents the top from cracking. After the 30 minutes, remove the pan from the oven and let it cool to room temperature on a wire rack. The caramelized sugar should be set but not hardened.
- Once cooled, chill the cheesecake in the refrigerator for at least 4 hours, preferably overnight. This allows the flavors to meld and the texture to firm up. If you’re in a hurry, a 2‑hour chill will suffice, but the longer the better for a silky finish.
- Just before serving, drizzle the cooled caramel over the top of the cheesecake. Use a kitchen torch to caramelize the sugar until it forms a glossy, crackly crust. The torch should be held at a 45‑degree angle and moved in a circular motion to ensure even caramelization. Watch the sugar melt into a golden glaze and then let it harden into a crisp shell.
- Serve the cheesecake warm or at room temperature, depending on your preference. If you like a softer interior, leave it at room temperature for 30 minutes before cutting. For a firmer bite, chill it again for 15 minutes before slicing. Each slice should reveal a creamy center with a crunchy caramelized top.
- That’s it — you did it. But hold on, I've got a few more tricks that'll take this to another level. Keep the leftovers in an airtight container in the fridge for up to 48 hours, and reheat gently in the microwave for 15–20 seconds before torching again for that fresh, crackly finish.
Insider Tricks for Flawless Results
The Temperature Rule Nobody Follows
Many bakers bake at 350°F, but that higher temperature can cause the custard to set too quickly and crack. By baking at 325°F, you give the custard time to rise slowly, creating a tender, silky interior. If you’re using a convection oven, reduce the temperature by 25°F to avoid over‑baking. Keep an eye on the edges; they should be set while the center remains slightly wobbly.
Why Your Nose Knows Best
Trust the aroma; when the caramel starts to turn amber, you’re at the sweet spot. If you wait too long, it will burn and taste bitter. Likewise, when the custard begins to emit a faint vanilla scent, it’s almost ready. Your nose can guide you to the perfect balance between sweet and creamy.
The 5‑Minute Rest That Changes Everything
After you remove the cheesecake from the oven, let it sit in the warm oven for 30 minutes. This slow cooling prevents the top from cracking and allows the flavors to meld. Skipping this step often leads to a cracked surface that looks unappetizing. A quick 5‑minute rest on the counter is enough if you’re short on time, but the 30‑minute rest is the gold standard.
The Perfect Torch Technique
Hold the torch about 6 inches from the surface and move it in a slow, circular motion. If you keep it too close, the sugar will burn and taste bitter; too far, it won’t caramelize properly. Practice on a small section first to get the feel. The crackling sound is the sweet reward of a job well done.
Use Fresh Eggs for a Lighter Bite
Fresh eggs have a firmer yolk and a cleaner flavor, which translates into a smoother custard. If you’re using older eggs, whisk them vigorously to incorporate more air, which helps prevent the custard from becoming too dense. The difference might be subtle, but it’s noticeable in the final texture.
The Secret Ingredient: A Pinch of Sea Salt
Adding a pinch of sea salt to the caramelized sugar before torching elevates the flavor profile, balancing the sweetness with a savory undertone. It also enhances the vanilla notes and adds depth to the overall taste. This small tweak can transform an already great cheesecake into something extraordinary.
Creative Twists and Variations
This recipe is a playground. Here are some of my favorite ways to switch things up:
Chocolate Crème Brûlée Cheesecake
Swirl in 1/4 cup melted dark chocolate into the batter before baking. The chocolate adds a rich, bittersweet layer that pairs beautifully with the vanilla. Finish with a drizzle of chocolate ganache on top for an extra indulgent touch.
Lemon Zest Surprise
Add a teaspoon of lemon zest to the batter for a bright, citrusy contrast. The lemon brightens the creamy base and adds a refreshing lift. Finish with a dusting of powdered sugar for a delicate finish.
Almond Crunch Variation
Replace the graham cracker crust with finely chopped toasted almonds. The nutty flavor adds depth, and the almond crunch provides a new textural element. A splash of almond extract can further enhance the nutty aroma.
Berry Compote Topping
Top the cheesecake with a homemade berry compote made from fresh strawberries, blueberries, and a splash of balsamic vinegar. The acidity cuts through the richness, creating a balanced flavor profile. Spoon the compote over the caramelized top for a burst of color.
Salted Caramel Swirl
Fold in a swirl of salted caramel sauce into the batter before baking. The caramel adds a gooey sweetness, while the sea salt provides a savory counterpoint. Finish with a sprinkle of flaky sea salt on top for a dramatic finish.
Espresso Infusion
Add a tablespoon of finely ground espresso to the batter for a subtle coffee undertone. The espresso enhances the vanilla flavor and gives the cheesecake a sophisticated depth. Pair with a dusting of cocoa powder for an elegant touch.
Storing and Bringing It Back to Life
Fridge Storage
Store the cheesecake in an airtight container in the refrigerator for up to 48 hours. The flavors will continue to develop, and the custard will firm up slightly. If you’re serving it at a party, keep it chilled until just before serving to maintain its silky texture.
Freezer Friendly
Wrap the cheesecake tightly in plastic wrap, then in a layer of aluminum foil. Freeze for up to 3 months. When ready to serve, thaw in the refrigerator for 12–24 hours. Once thawed, reheat gently in the microwave for 15–20 seconds before torching again for the perfect caramelized crust.
Best Reheating Method
Reheat the cheesecake in a preheated 300°F oven for 5–7 minutes, or until warm. Avoid microwaving the entire cheesecake; instead, microwave a small portion to warm it quickly, then finish with a torch to restore the caramelized top. Adding a splash of water before reheating can help steam the custard back to its original silky consistency.