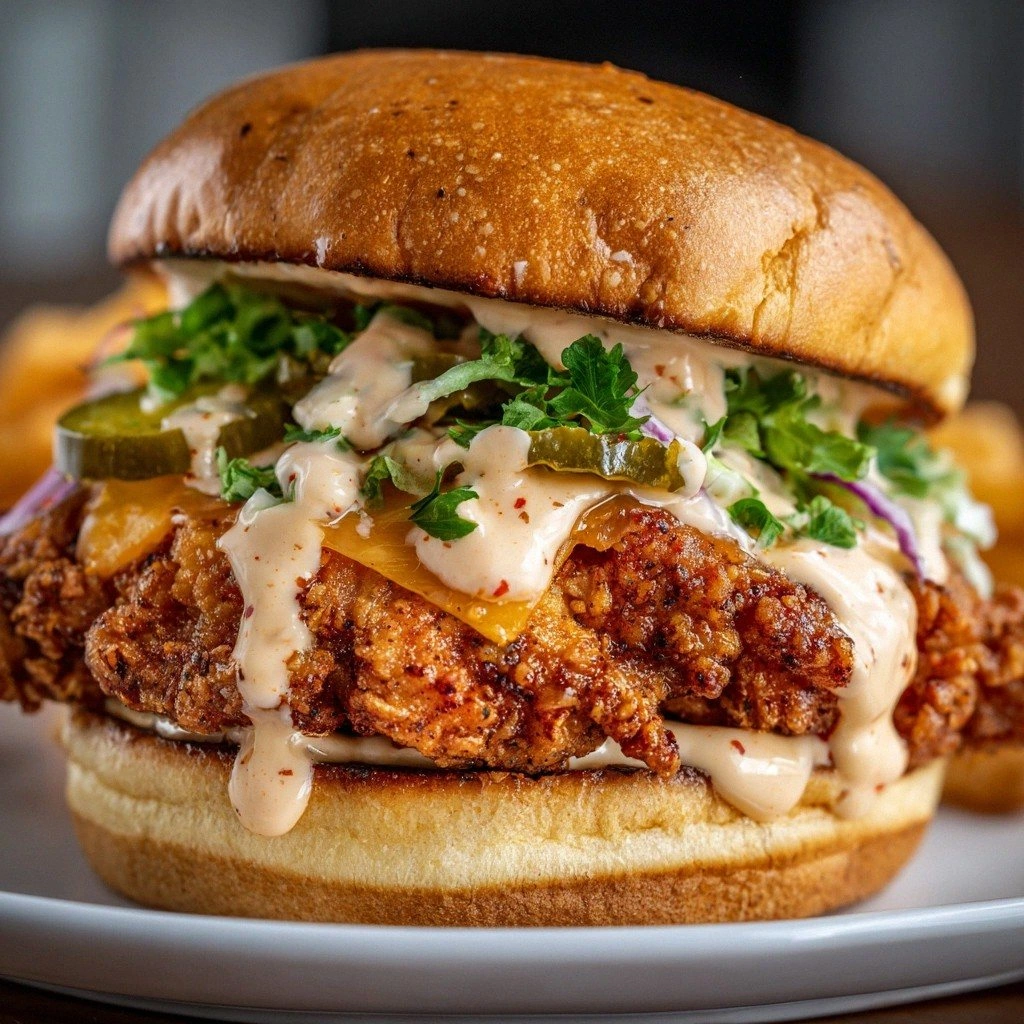
The first time I tried to make buffalo chicken taquitos, I was halfway through the cooking process, the air was thick with the scent of frying oil, and I realized I had forgotten the most critical ingredient—tortillas. I stared at the empty bag of flour tortillas in my pantry like a detective looking for clues. My friends were waiting, hungry, and I was scrambling to salvage what was left of my culinary ambition. That night, I was determined to turn that kitchen disaster into a triumph. I tasted the soggy, half‑fried pieces and swore, “I will not let this happen again.” That vow became the seed for the most reliable buffalo chicken taquito recipe you’ll ever find.
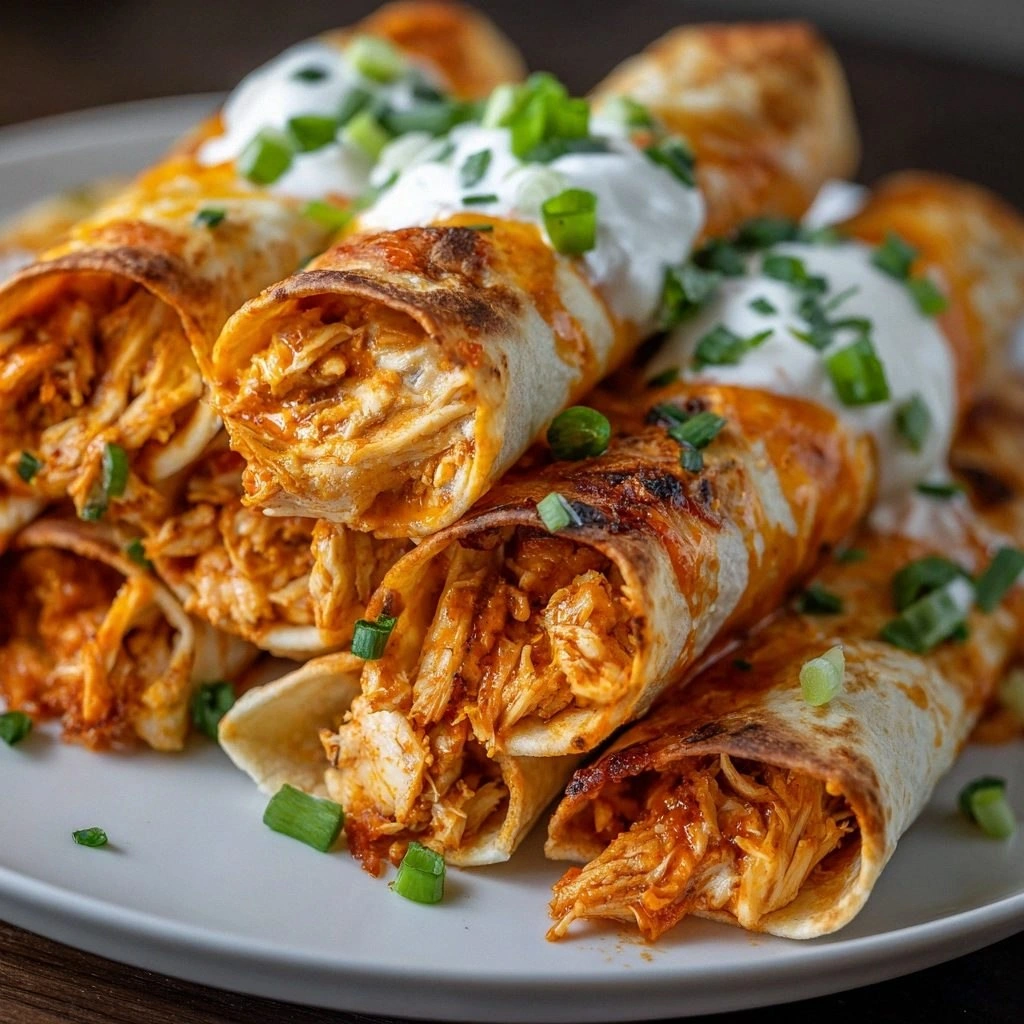
Picture this: a hot skillet crackling, the first golden edge forming, the sizzle rising like applause from a packed theater. The air is filled with a smoky tang that hints at the spicy buffalo sauce swirling around tender chicken. As you flip a taquito, you hear a satisfying pop, the tortilla’s crispness giving way to a warm, gooey center. The bright green of sliced green onions cuts through the heat, offering a fresh bite that balances the fiery flavor. Your tongue is already anticipating the creamy cheese melting into a velvety coating that clings to the tortilla’s folds. Each bite is a dance of textures—crunch, melt, and a subtle heat that lingers on the palate.
What sets this version apart from the countless variations you’ll find online is the meticulous layering of flavors and textures. I didn’t just toss chicken into sauce; I simmered it in a homemade blend that brings out the natural sweetness of the meat while amplifying the peppery bite of the buffalo sauce. The cheese isn’t just a filler; it’s a binding agent that creates a molten, golden crust when the taquitos hit the pan. The tortillas are pre‑toasted just enough to hold the filling without becoming soggy. And the green onions? They’re not optional—they’re a vital counterpoint that sharpens the heat and adds a pop of color that makes each bite look as good as it tastes.
I dare you to taste this and not go back for seconds. The first bite is a revelation—crispy, creamy, and hot enough to make your eyes water, yet balanced by the coolness of the cheese. Picture yourself pulling this out of the skillet, the kitchen smelling incredible, and the whole room filling with the aroma of melted cheese and spicy chicken. If you’ve ever struggled to get the texture just right—too soggy, too dry—this recipe has the fix. I’ll be honest—by the time I finished, I had already eaten half the batch before anyone else got a chance to try it. That’s the power of a recipe that feels almost too good to share.
What Makes This Version Stand Out
- Flavor: The sauce coats the chicken like velvet, turning every bite into a spicy, savory masterpiece.
- Texture: The tortillas achieve that perfect crispy edge while staying soft inside—no sogginess, just pure crunch.
- Simplicity: With only six ingredients, you can whip up a crowd‑pleasing dish in under 45 minutes.
- Uniqueness: The subtle green onion garnish adds a fresh, bright contrast to the heat.
- Reaction: Friends who taste these taquitos often ask for the recipe the next time they visit.
- Ingredient Quality: Using high‑quality buffalo sauce and fresh cheese makes the difference between ordinary and unforgettable.
- Cooking Method: Quick pan‑frying preserves the flavors and ensures a golden finish.
- Make‑ahead Potential: The assembled taquitos can be refrigerated or frozen and reheated to perfection.
Inside the Ingredient List
The Flavor Base
Shredded cooked chicken is the star of the show. It provides the protein punch and the canvas for the buffalo sauce to paint its fiery masterpiece. If you’re using rotisserie chicken, the seasoning already adds a subtle depth that complements the spicy sauce. Skipping the chicken turns the dish into a bland, empty wrapper; the sauce needs a robust base to shine. For a vegetarian twist, substitute shredded jackfruit or tofu, but be sure to season it heavily.
The Texture Crew
Flour tortillas are essential for achieving that crisp, golden exterior. Small, thin tortillas are ideal because they roll easily and cook quickly. Corn tortillas can replace them for a gluten‑free option, but they’re more delicate and may tear if overfilled. If you want an extra crunch, lightly toast the tortillas on a dry skillet before filling. The green onions add a fresh crunch and a pop of color that brightens the dish; they’re optional, but I highly recommend them for that extra zing!
The Unexpected Star
Buffalo sauce is the secret weapon that gives the taquitos their signature kick. It’s not just about heat; the sauce’s tangy, buttery flavor coats the chicken like velvet. Adjust the amount based on your spice tolerance—more for the brave, less for the faint of heart! If you prefer a milder version, mix in a splash of ranch or blue cheese dressing to tone down the heat while keeping the creamy richness.
The Final Flourish
Shredded cheese—cheddar or mozzarella—works beautifully here. The cheese melts into gooey goodness, binding everything together. A sprinkle of shredded cheese on top of the finished taquitos adds a golden crust that melts into a silky finish. If you’re a cheese lover, add a dash of pepper jack or smoked gouda for an extra layer of flavor. Cooking spray or oil is essential for achieving that crispy, golden exterior; use olive oil, vegetable oil, or even coconut oil for frying.
Everything’s prepped? Good. Let’s get into the real action.
The Method — Step by Step
- Begin by heating a large skillet over medium heat and adding a light spray of cooking oil. The pan should be hot enough that a single drop of water sizzles upon contact. I dare you to taste the first sizzling moment; it’s the sound of flavor building. Keep the oil thin to avoid excess greasiness. This step is crucial for achieving a crisp exterior.
- While the skillet heats, mix the shredded chicken with the buffalo sauce in a bowl. Stir until every strand of meat is coated evenly. If the sauce is too thick, add a splash of hot sauce or a few drops of water to reach your preferred consistency. The sauce should cling to the chicken like a glossy coat. This is where the flavor base comes alive.
- Lay a tortilla flat on a clean surface. Spread a generous spoonful of the chicken mixture onto the center, leaving a small margin around the edges. Sprinkle a handful of shredded cheese over the chicken; the cheese will melt and help hold the filling together during frying. This is the texture crew at work, creating a gooey, binding layer.
- Roll the tortilla tightly, tucking in the edges as you go. Use a little water to seal the edge, ensuring the filling stays inside. The roll should be snug but not so tight that it tears. A good roll is the foundation of a perfect taquito.
- Place the rolled taquito seam‑side down in the hot skillet. Let it cook for 2–3 minutes, or until the underside turns golden brown and crisp. Flip carefully with tongs, and cook the other side for an additional 2–3 minutes. The goal is a uniform crispness; the cheese should melt into a golden crust.
- Remove the taquito from the skillet and place it on a paper towel to drain excess oil. If you prefer an extra crunchy finish, pop the taquitos in a preheated oven at 400°F for 3–4 minutes. The oven will give the edges a final crunch while keeping the interior soft.
- Repeat the process until all the filling is used, keeping the skillet warm to avoid drying out the tortillas. This step ensures a consistent texture across all taquitos.
- Once all taquitos are cooked, sprinkle chopped green onions over the top for a fresh, bright contrast. The green onions add a subtle crunch and a burst of color that makes the dish look as good as it tastes. If you like, squeeze a wedge of lime over the finished taquitos to add a citrusy zing.
- Serve immediately with a side of ranch or blue cheese dressing for dipping. The coolness of the dressing balances the heat, making each bite a harmonious experience. Enjoy your masterpiece!
That's it — you did it. But hold on, I've got a few more tricks that'll take this to another level.
Insider Tricks for Flawless Results
The Temperature Rule Nobody Follows
Many people cook at too low a heat, resulting in soggy tortillas. I always set my stove to medium‑high and let the pan preheat for a minute before adding oil. The pan should feel hot to the touch; a quick drop of water should evaporate instantly. If you’re using a non‑stick skillet, a little extra oil helps maintain that crispness.
Why Your Nose Knows Best
The aroma of melted cheese and spicy chicken is a sign that the sauce has fully absorbed into the meat. If the smell is too sharp, let the mixture sit for a few minutes before filling the tortillas. A little resting time allows the flavors to meld, giving a more balanced bite. I’ve seen people skip this step and end up with a raw, under‑seasoned flavor.
The 5‑Minute Rest That Changes Everything
After cooking, let the taquitos rest on a wire rack for five minutes. This allows excess oil to drain and the cheese to set slightly, preventing it from oozing out when you bite. If you cut into them too quickly, the cheese can spill everywhere. A quick rest also lets the heat distribute evenly.
The Green Onion Twist
Chopped green onions aren’t just a garnish; they add a bright, fresh crunch that cuts through the heat. Use white or yellow onions for a milder flavor, or switch to scallions for a milder bite. If you’re allergic, substitute with chopped fresh cilantro for a different herbal note.
The Quick Pan‑Fry Finish
If you’re in a rush, finish the taquitos in a hot skillet for 30 seconds on each side. The quick sear locks in the juices and creates a crisp exterior without overcooking the interior. This trick is perfect for busy weeknights.
Creative Twists and Variations
This recipe is a playground. Here are some of my favorite ways to switch things up:
Cajun Chicken Taquitos
Swap the buffalo sauce for a homemade Cajun seasoning blend and a splash of chicken broth. The result is a smoky, spicy flavor profile that’s perfect for a Southern twist.
Buffalo Veggie Taquitos
Use roasted cauliflower, sweet potato, and black beans for a vegetarian version. Toss the veggies in buffalo sauce, then roll with shredded cheese for a plant‑based delight.
Buffalo Shrimp Taquitos
Replace the chicken with succulent shrimp cooked in a garlic butter sauce. The shrimp’s natural sweetness pairs beautifully with the spicy buffalo sauce.
Buffalo Taco Taquitos
Add a spoonful of salsa and a sprinkle of cilantro inside the tortilla for a taco-inspired flavor. Serve with a side of guacamole for an extra burst of freshness.
Buffalo Breakfast Taquitos
Fill the tortillas with scrambled eggs, bacon, and a dash of buffalo sauce. These are a hearty, spicy breakfast that will keep you satisfied all morning.
Buffalo BBQ Taquitos
Mix buffalo sauce with a little BBQ sauce for a sweet and spicy fusion. The smoky BBQ undertones add depth to the classic buffalo flavor.
Storing and Bringing It Back to Life
Fridge Storage
Store cooked taquitos in an airtight container in the refrigerator for up to 3 days. The tortillas may soften slightly, but reheating will restore their crispness. Wrap them in a paper towel to absorb excess moisture.
Freezer Friendly
Freeze individual taquitos in a single layer on a parchment‑lined tray before transferring to a freezer bag. They’ll keep for up to 2 months. Thaw overnight in the refrigerator or microwave on a low setting.
Best Reheating Method
Reheat in a hot skillet over medium heat for 2 minutes on each side, or in a 400°F oven for 5–7 minutes. Add a tiny splash of water before reheating; it steams the tortillas back to perfection and prevents them from drying out.