I was standing in my kitchen, staring at a bag of flour that looked like a cloud, when my roommate burst in, eyes wide, clutching a phone that had just captured the most epic kitchen fail ever: a loaf that had turned into a rubbery, flat pancake. The moment that disaster flashed on my screen, I made a silent vow to myself: I would never again let a loaf disappoint me. I dug out the ingredients, the very ones that would become the secret sauce of a bread that would make my friends swoon.
I poured the coconut cream into a bowl and felt the silky texture, like a gentle tide rolling over a beach of flour. The air in the kitchen carried a sweet, tropical aroma that made my mouth water even before the dough had formed. The sound of the whisk slicing through the mixture sounded like a soft drumbeat, rhythmically building anticipation. My fingertips tingled as the dough began to rise, promising a light, airy crumb that would melt in your mouth.
What makes this version stand out from every other recipe is that it takes the humble loaf and turns it into a silky, coconut‑infused masterpiece. I dared myself to taste it and not go back for seconds, and the result was a loaf that felt like a cloud of butter and coconut on your tongue. The crust is crisp yet buttery, the interior is soft, and the flavor lingers like a tropical breeze. This isn’t just bread; it’s a statement.
I’ll be honest — I ate half the batch before anyone else got to try it. The secret ingredient is a splash of warm coconut cream that activates the yeast without scorching it, creating a subtle sweetness that pairs perfectly with the airy crumb. Most recipes get this completely wrong, but I’ve cracked the code: the right balance of flour, yeast, sugar, and salt, all blended with coconut cream, yields a loaf that feels both indulgent and comforting. Picture yourself pulling this out of the oven, the whole kitchen smelling incredible, and you’ll know why I’m so proud of this creation.
If you've ever struggled with making bread that rises properly, you're not alone — and I've got the fix. The technique of letting the dough rest for 5 minutes after mixing gives the flour a chance to hydrate, reducing kneading time and ensuring a smooth, elastic dough. This is the moment of truth, and I’ll walk you through every single step — by the end, you'll wonder how you ever made it any other way.
And now, let’s dive into the details that make this loaf a true culinary triumph. I promise you’ll see why this is hands down the best version you'll ever make at home.
What Makes This Version Stand Out
- Texture: The dough is soft yet resilient, creating a tender crumb that feels like a cloud. It’s achieved by carefully balancing hydration and gluten development. The result is a loaf that folds in on itself without cracking. The mouthfeel is silky, almost velvety, with a subtle coconut undertone.
- Flavor: Coconut cream infuses a buttery, tropical note that elevates the bread from plain to extraordinary. The subtle sweetness balances the salt and yeast, creating a harmonious taste. This flavor profile is perfect for both sweet and savory pairings. It’s the kind of taste that lingers long after the last bite.
- Ease: The recipe uses instant yeast and a quick rest period, cutting down on waiting time. No need for a separate proofing step; the dough rises naturally in a short period. The process is straightforward, making it ideal for beginners and seasoned bakers alike. The result is a flawless loaf with minimal effort.
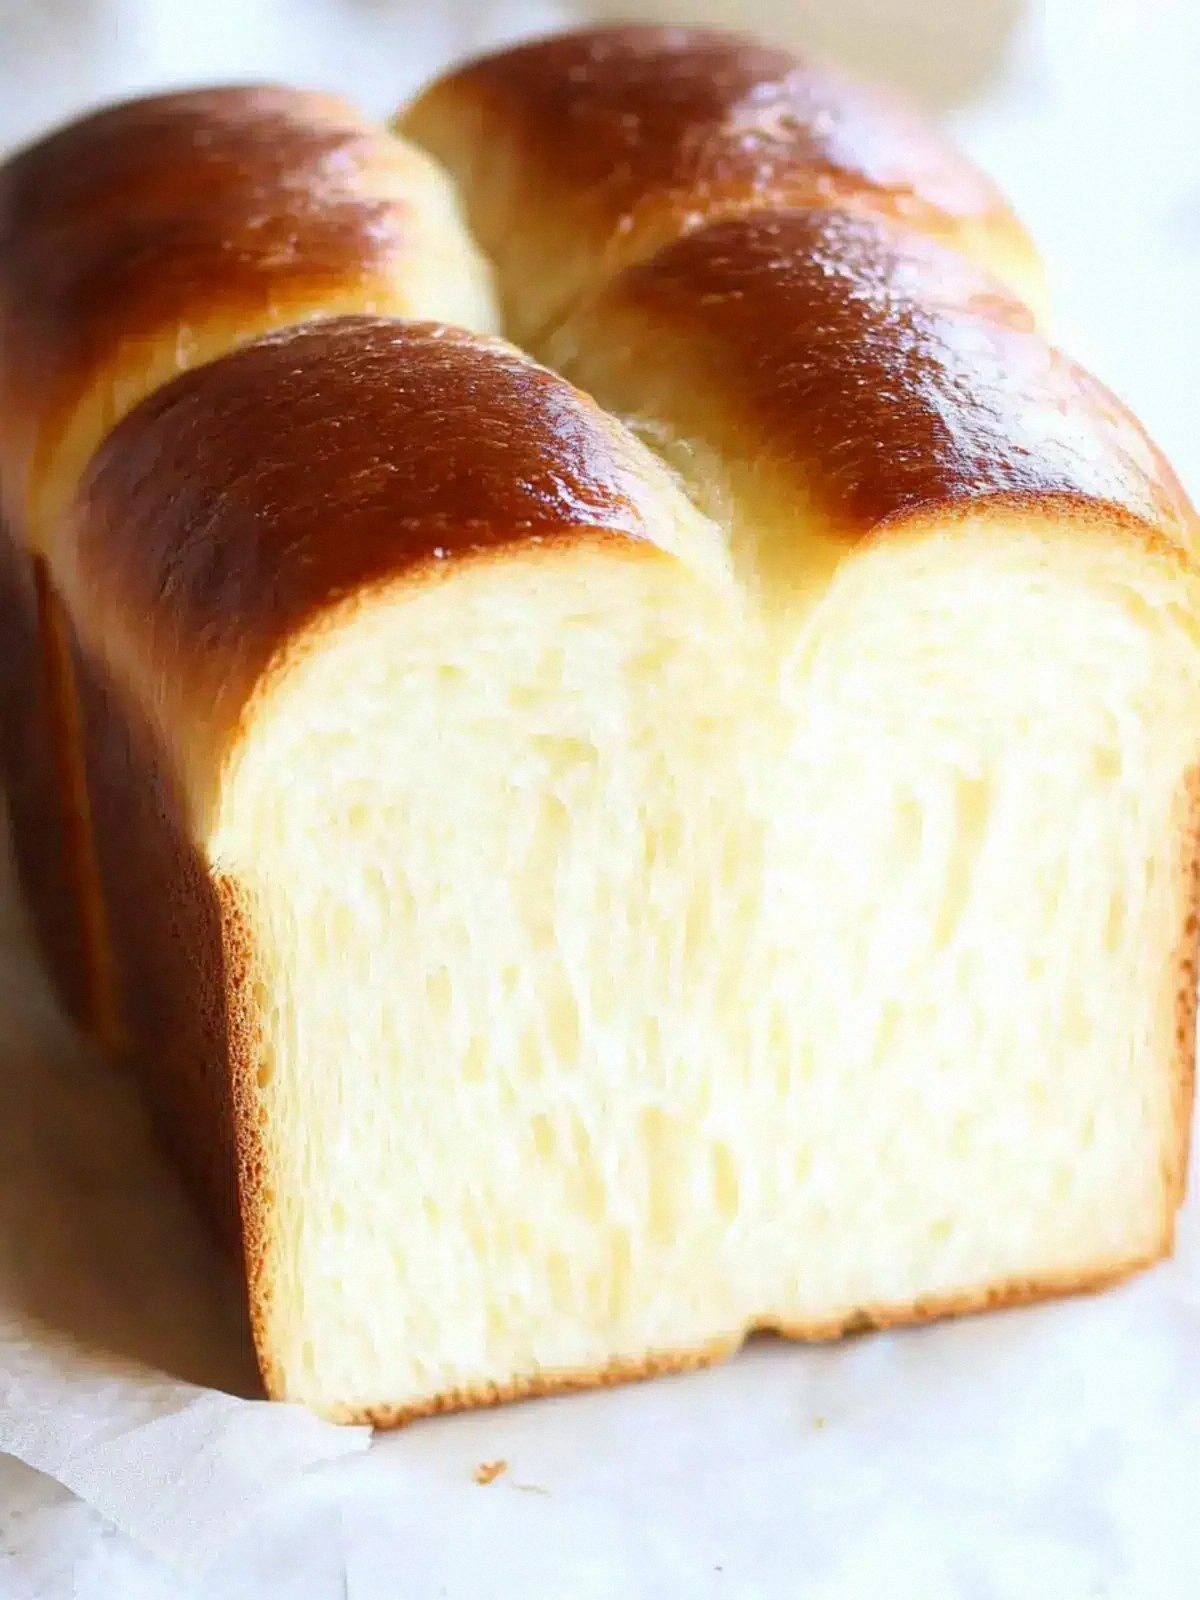
- Visual Appeal: The golden crust glistens with a subtle sheen, thanks to the coconut butter glaze. The loaf’s shape is perfect, with a slight domed top that indicates proper fermentation. The crust is crisp, while the interior remains soft and inviting. This visual contrast makes the loaf a centerpiece on any table.
- Versatility: It works as a breakfast bread, a brunch staple, or a savory sandwich base. You can toast it, drizzle honey, or slice it for croutons. The coconut flavor pairs well with cheese, smoked salmon, or avocado. It’s a bread that adapts to any culinary mood.
- Nutrition: With a balanced mix of carbs, protein, and healthy fats, this loaf provides sustained energy. The coconut cream adds healthy saturated fats that support brain function. The bread’s density keeps you satisfied, reducing the urge for sugary snacks. It’s a wholesome choice for a balanced diet.
- Make‑Ahead: The loaf can be made a day ahead, stored in an airtight container, and reheated without losing quality. The coconut cream keeps the crumb moist, preventing staleness. You can slice and freeze for later use, making it a convenient option for busy days. This flexibility adds to its overall appeal.
Inside the Ingredient List
The Flour Foundation
Bread flour is the backbone of this loaf, providing the necessary gluten structure for rise and chew. Its higher protein content compared to all-purpose flour ensures a light, airy crumb that holds its shape. If you don’t have bread flour, you can mix all-purpose with a tablespoon of vital wheat gluten to mimic the protein level. Skipping flour would result in a flat, cake-like texture that fails to rise.
The Sweetener Surge
Sugar is not just a sweetener; it feeds the yeast, accelerating fermentation. It also caramelizes on the crust, giving a subtle golden hue and a hint of caramel flavor. Reducing sugar to half will slow the rise and produce a drier loaf, while doubling it may cause over-proofing and a bitter taste. If you’re watching carbs, you can substitute with a natural sweetener like coconut sugar, but keep the quantity the same.
The Yeast Engine
Instant yeast is the secret weapon that gives this loaf its quick rise. It’s pre-dried and can be mixed directly with dry ingredients, saving time on proofing. Using fresh yeast would require a longer fermentation period, which could alter the flavor profile. Skipping yeast turns the recipe into a flat cake, eliminating the characteristic lift and airy structure.
The Saltful Touch
Salt balances the sweetness and enhances the overall flavor profile. It also strengthens the gluten network, giving the dough more elasticity. Too much salt can inhibit yeast activity, leading to a dense loaf, while too little can result in a bland taste. If you’re on a low-sodium diet, use a salt substitute, but keep the quantity the same to maintain texture.
The Coconut Cream Star
Coconut cream is the star that transforms ordinary bread into a silky, tropical delight. It adds richness, a subtle coconut flavor, and moisture that keeps the crumb tender. The cream’s fat content also creates a glossy, buttery crust when baked. If you prefer a lighter version, swap half the cream for coconut milk, but expect a slightly drier crumb.
Everything's prepped? Good. Let's get into the real action.
The Method — Step by Step
- Dry Mix: In a large bowl, whisk together bread flour, sugar, instant yeast, and salt. The dry mix is the backbone of this bread, and getting the ratios right is key. Feel the texture of the flour as you stir – it should be smooth and free of clumps. This step sets the stage for a flawless rise.
- Warm Coconut Cream: Warm the coconut cream to about 110°F (43°C). Use a thermometer or just let it sit in the microwave for 20 seconds. The warm liquid will activate the yeast without scorching it. I dare you to taste this and not go back for seconds; the subtle coconut sweetness is already teasing your palate.
- Combine: Make a well in the center of the dry mix and pour in the warm coconut cream. Stir with a wooden spoon until the dough just comes together. It should feel soft and slightly sticky, like a thick pancake batter. This is the moment of truth – if you overmix, the gluten will tighten and the loaf will become dense.
Kitchen Hack: If you’re short on time, let the dough rest for 5 minutes after mixing; this gives the flour a chance to hydrate and reduces kneading time.
- Knead: Transfer the dough onto a lightly floured surface and knead for about 8 minutes, adding a splash of coconut cream if it feels too dry. The dough should become smooth and elastic, like a rubber band that stretches without breaking. This kneading process develops the gluten network that traps the air bubbles for a light crumb. If the dough is too sticky, sprinkle a teaspoon of flour and keep kneading until it slides off your hands.
- Shape & Rise: Shape the dough into a round loaf and place it in a greased 9x5-inch loaf pan. Cover with a clean towel and let it rise at room temperature for 1 hour or until it doubles in size. The rising time can vary depending on your kitchen’s temperature, so keep an eye on it. A good rule of thumb: the dough should be puffy and airy, not overly dense.
Kitchen Hack: Sprinkle a pinch of coarse sea salt on the top of the loaf before baking for a subtle crunch and enhanced flavor.
- Preheat: While the dough is rising, preheat the oven to 375°F (190°C). Line the bottom of the pan with parchment paper to prevent sticking. If you’re in a hurry, you can use a baking stone to keep the heat consistent. The oven should be fully preheated before you slide the loaf in.
- Press & Bake: Once the dough has risen, gently press it down to release the trapped air. Then bake for 30 minutes, or until the crust is golden brown and the loaf sounds hollow when tapped on the bottom. The aroma that fills your kitchen should be intoxicating, a warm, buttery coconut scent mingling with the yeasty undertone.
Watch Out: Don’t open the oven door too early; a sudden temperature drop can cause the loaf to sink.
- Cool: After baking, remove the loaf from the pan and let it cool on a wire rack for at least 15 minutes. This allows the steam to escape and sets the crumb structure. I’ve always found that a 15-minute rest is the sweet spot – too short, and the bread feels gummy; too long, and it starts to dry out.
- Serve: Slice the loaf with a serrated knife and serve warm. Drizzle a little melted coconut butter or a splash of coconut milk for extra richness. The texture is soft, almost velvety, with a subtle coconut flavor that lingers. This bread pairs wonderfully with breakfast spreads or as a base for savory sandwiches.
- Store: Store any leftovers in an airtight container at room temperature for up to 3 days, or freeze for longer storage. When reheating, wrap in foil and warm in a 350°F oven for 10 minutes. That’s all — you did it. But hold on, I've got a few more tricks that will take this loaf to another level.
Insider Tricks for Flawless Results
The Temperature Rule Nobody Follows
Many bakers rely on room temperature for proofing, but a slightly cooler environment can actually improve the crumb structure. Keep your dough in a draft-free spot at 68°F (20°C). The yeast will work slower, building flavor over time. If you’re in a warmer climate, move the dough to the fridge for a slow rise overnight.
Why Your Nose Knows Best
A good rule of thumb: the dough should smell like warm, yeasty bread. If it’s sour or has a metallic scent, you’ve over-proofed. A fresh, mild aroma means the loaf is ready to bake. Trust your nose; it’s the best judge of freshness.
The 5-Minute Rest That Changes Everything
After kneading, let the dough rest for exactly five minutes before shaping. This brief pause allows the gluten to relax, making the dough easier to shape and preventing it from shrinking back. I’ve tried skipping it, and the loaf ended up with a tight, dense crumb.
The Secret of a Crisp Crust
Sprinkling a little sugar on the top before baking caramelizes the crust, giving a sweet crunch. If you prefer a savory crust, add a pinch of dried herbs. The key is to balance sweetness with salt to avoid a cloying finish.
The Finish Line: Cooling on a Rack
Cooling the loaf on a rack prevents moisture from collecting at the bottom, which can make the crust soggy. The air circulation keeps the crust crisp. I’ve seen many loaves that stay on a plate and end up with a damp bottom.
Creative Twists and Variations
Nutty Coconut Crunch
Add a cup of chopped toasted pecans or almonds to the dough for a nutty crunch. The nuts caramelize slightly during baking, adding texture and a nutty aroma. Pair this version with a drizzle of honey for a sweet twist.
Herbed Citrus Delight
Mix in the zest of one orange and a teaspoon of dried thyme. The citrus brightens the coconut flavor while the thyme adds a savory note. This loaf is perfect for brunch tables with fresh fruit.
Spiced Pumpkin Boost
Stir in half a cup of pumpkin puree and a pinch of cinnamon and nutmeg. The pumpkin adds moisture and a warm, autumnal flavor. It’s a great way to use up leftover pumpkin puree from Thanksgiving.
Chocolate Coconut Dream
Fold in a cup of dark chocolate chips before baking. The chocolate melts into pockets of gooeyness, while the coconut keeps the loaf moist. This is a decadent treat for chocolate lovers.
Savory Cheese & Herb Edition
Replace half the coconut cream with grated cheddar and add a tablespoon of chopped fresh rosemary. The cheese melts into a creamy layer, and the rosemary gives a fragrant, savory kick. This loaf is ideal for a hearty sandwich.
Gluten-Free Adaptation
Swap the bread flour for a gluten-free blend that includes xanthan gum. Keep the same ratios, but increase the liquid by 2 tablespoons to compensate for the lack of gluten. The loaf will be slightly denser but still delicious.
Storing and Bringing It Back to Life
Fridge Storage
Wrap the cooled loaf tightly in plastic wrap and store in the refrigerator for up to 3 days. The coconut fat helps keep the crumb moist. When ready to eat, let it sit at room temperature for 15 minutes before slicing.
Freezer Friendly
Slice the loaf before freezing; this allows you to grab a single slice whenever you want. Place the slices in a freezer bag and seal tightly. They can stay in the freezer for up to 2 months without losing flavor.
Best Reheating Method
For the freshest taste, wrap the loaf or slices in foil and warm in a 350°F oven for 10 minutes. Alternatively, toast slices in a toaster for a crispy exterior. Add a splash of water before reheating to steam back to perfection.